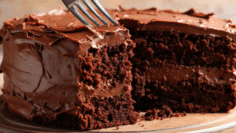
Few things sting a baker’s heart like the moment after slicing into a carefully crafted cake and discovering a dense, gummy crumb instead of the airy, fluffy slice they expected. This disappointment haunts many home kitchens, and the culprit usually lurks beneath the surface, the way the batter gets mixed. Learning how to mix cake batter correctly is one of the most important baking skills you can develop.
This guide walks you step-by-step through everything you need to know, explaining why mixing is so crucial, which tools will save you time and effort, and the pro tips that separate amateur bakers from the great ones. By the time you finish, you’ll be ready to bake cakes that rise beautifully and light every single time.
This post contains affiliate links, which means we may receive a commission at no cost to you. As an Amazon Associate, I earn from qualifying purchases.
Why Mixing Cake Batter the Right Way Matters
At first, mixing may seem like the easiest part of cake making, but it’s the stage where the cake’s personality is really shaped. Each wave of the spatula or thump of the mixer alters the cake’s final form. Mixing balances two baking superheroes: gluten formation and air.
How Overmixing Cake Batter Creates Dense Cakes
When flour is stirred too long, gluten chains link and tangle, making the cake feel like an old bicycle tire instead of a fluffy cloud. Sure, the cake can rise, but the crust may deflate afterward. The inside goes from tender to rubbery, and no icing can save a tough slice of disappointment.
What Happens If You Undermix Cake Batter
Not mixing long enough is like trying to paint a room with a brush that has no paint. Flour pocket mountains hide in the batter, and tiny lumps of butter and sugar hide from the oven’s heat. Once baked, the cake has a streaky, patchy appearance that’s more ghostly than gourmet. Mixing just right means the cake has a tender, even crumb from the first slice to the last.
The Science of Mixing Cake Batter Correctly
Balancing ingredients is key. Flour holds proteins that become sticky gluten when mixed with moisture. You need just enough gluten to support the cake, or it will fall apart. Too much, however, turns the cake chewy. Meanwhile, when you cream butter with sugar or whip eggs, you’re adding tiny air pockets. In the oven, the heat makes these pockets grow, resulting in a fluffy cake. A well-timed mixing method gives you the gluten that holds it together and the air that makes it rise.
Common Mixing Mistakes to Avoid When Mixing Cake Batter
Even the best recipe can end up a flop in the mixing bowl if you sidestep the rules. Here are the biggest mistakes to watch for:
1. Using the wrong mixer speed
Many bakers crank the speed to maximum, expecting speed to equal fluff. In truth, the batter is a fragile ecosystem. You need high speed for creaming butter and sugar, but as soon as the flour joins the team, switch to low to medium speed. That way, you keep the gluten under control and give air pockets a chance to settle in. Too much speed and the batter gets overworked.
2. Not scraping down the bowl
Ingredients love to cling to the sides and bottom when you’re mixing. If you skip this easy step, the batter can dry out, and you end up with recipes that taste weird because the sugar or flour didn’t get properly folded in. So stop the mixer and take a couple of seconds to scrape the bowl.
3. Tossing in everything at the same time
Overscheduling the bowl is a rookie mistake. If you pour all the flour and all the liquid in at once, the batter can’t absorb the ingredients evenly. Lumps form, and the cake can’t rise the way it should. This is how you get a layer cake that looks right but feels gummy. Add flour, mix for a moment, then pour the milk or eggs. Repeat a couple of times, and you’re one step closer to the cake of your dreams.
Step-by-Step Guide: How to Mix Cake Batter Correctly
1. Softened Butter and Sugar Are Key
Ensure the butter is soft enough to dent with your fingertip; avoid any puddles of melted butter. Mix the butter and sugar together in what is known as the creaming method. The sugar crystals are creating tiny air pockets in the butter, and those pockets are what will lift your cake in the oven. Keep mixing until it’s pale, fluffy, and increased in volume.
2. Eggs, One by One, for Even Mixing
Eggs are the glue that holds cake batter together, but they need to be added gradually. Cracking all of them in at once can cause the mixture to seize and appear blotchy. Instead, crack the first egg in and beat until you can’t see any glistening yolk. Only then is it time to add the second egg. This allows the yolk and white to blend thoroughly with the butter without the batter ever breaking.
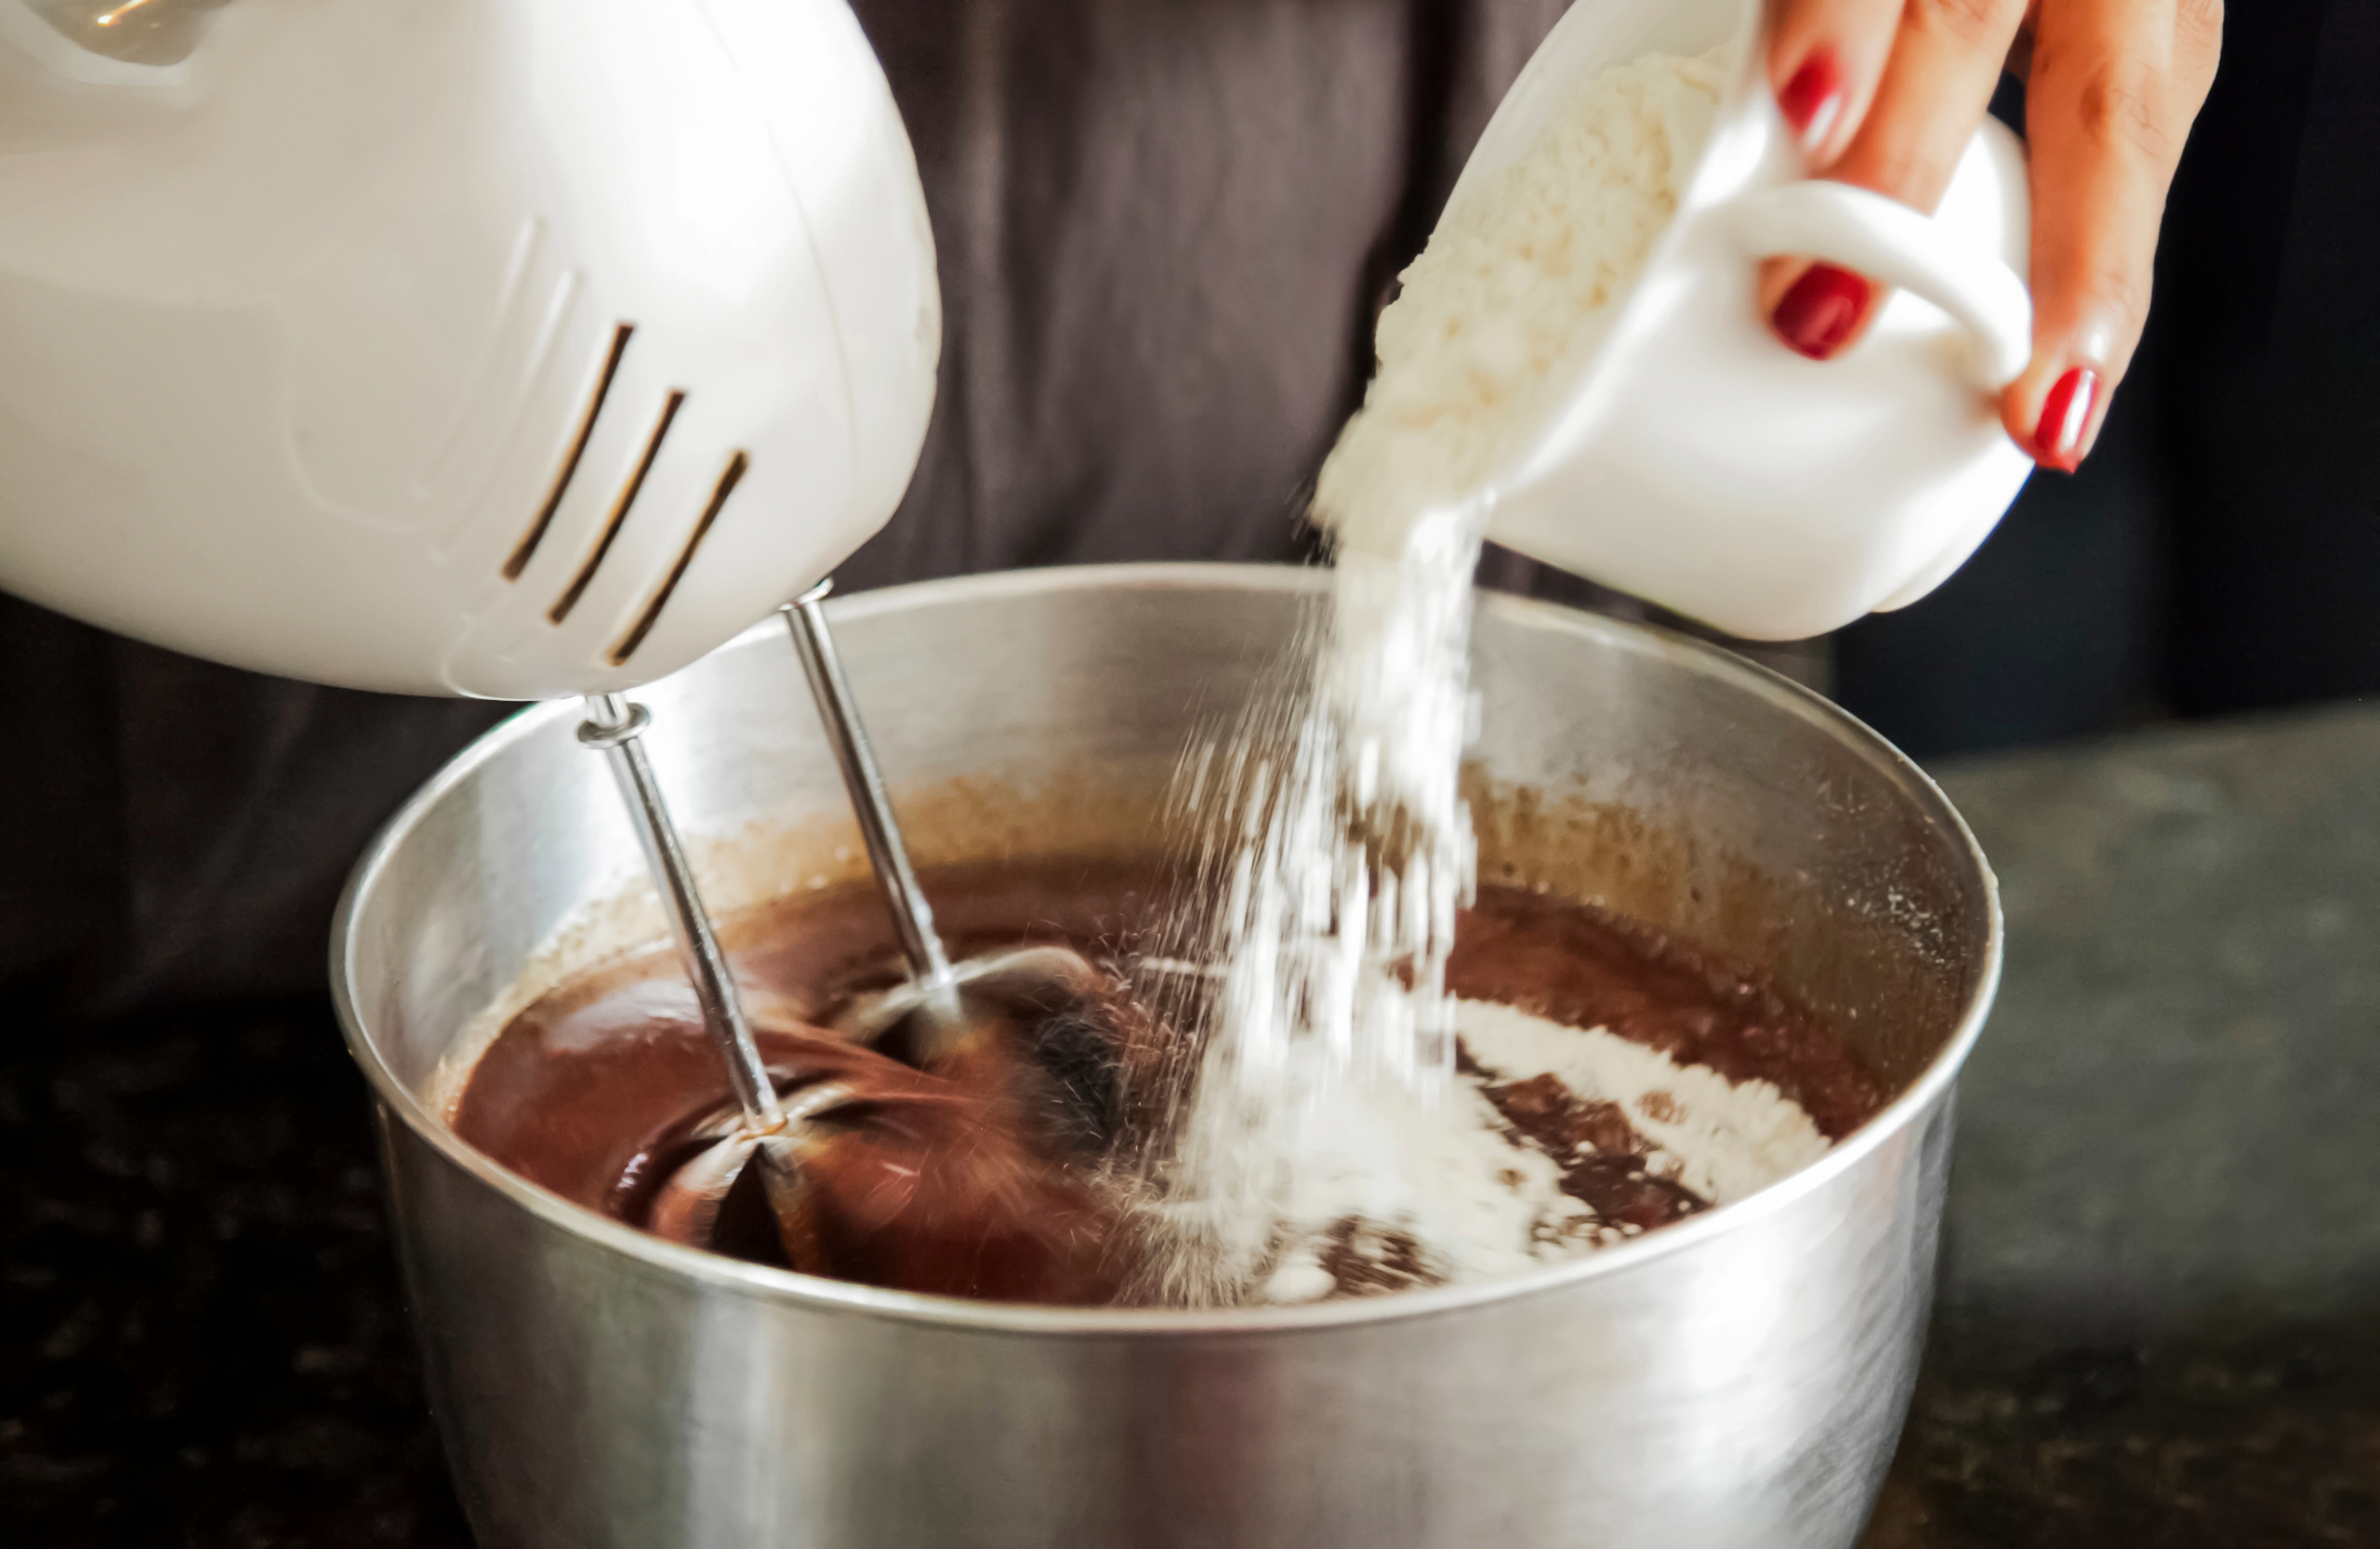
3. Alternate dry and wet ingredients
After the eggs are mixed in, add the dry and wet ingredients in turns. Start with the flour, then pour in the wet component, like milk or yogurt, and repeat, always keeping the last portion as flour. This way, the mixture builds gradually, and the batter stays balanced, resulting in a fine, even crumb.
4. Mix just until combined
Stop stirring the instant the last bit of flour disappears. Extra mixing could thicken the batter with too much gluten. If you still see tiny streaks, use a spatula to fold the batter gently until even. Less stirring creates a lighter texture.
Best Tools for Mixing Cake Batter Like a Pro
Using the right tools doesn’t just save you time; it helps you recreate the exact great cake over and over.
If you bake a lot or batch up treats for the family, a stand mixer is your best buddy in the kitchen. It whips up dough, batter, or frosting while you chop or measure the next ingredient. Hand mixers, on the other hand, are less expensive, lightweight, and easier to store. They give you more control over speed and mixing time. Either can turn out a perfect batch; just choose the one that best suits your baking style.
- Mixing Bowls and Spatulas
Go for durable stainless steel or glass mixing bowls. They won’t hold onto smells, and a quick rinse is usually all the cleaning they need. Pair them with a set of silicone spatulas. These bend nicely, scrape every last bit of batter, and fold in dry ingredients without deflating the air you just whipped in.
It’s all too easy to zone out while mixing and end up with a cake that’s more brick than fluffy. A digital kitchen timer is a small investment that saves a lot of baking heartache. Set the timer the moment you start whisking, then walk away with confidence that your batter won’t be overworked.
Pro Tips for Light and Fluffy Cakes
Want fluffy cakes that taste like they came from a fancy bakery? Use these simple tips.
- Use Room-Temperature Ingredients
Cold butter, eggs, and milk don’t mix as well. Let these items sit out for about 30 minutes before you bake. This way, they blend together smoothly, and the batter turns airy.
- Measure Flour the Right Way
Most of us grab a measuring cup and a scoop. That packs the flour. Instead, either weigh the flour or spoon it into the cup, fluffing it first, and then use a straightedge knife to level it. That way, you always get the right amount.
- Sift the Dry Mix
Sifting is quick yet powerful. It breaks up lumps, adds air, and spreads out baking powder or soda. Sift the flour, salt, and leavening together, and your cake will rise evenly without any big holes.
- Let the Batter Rest
Sometimes a quick sit helps. If you’re not in a rush, let the batter sit for 5 to 10 minutes. The flour drinks up the liquid, and the cake will bake with a finer, more even texture.
Shop Online for the Best Mixing Tools
Stand Mixers
- KitchenAid Artisan Series 5 Quart Tilt Head Stand Mixer
- Aucma Stand Mixer,6.5-QT 660W 6-Speed Tilt-Head Food Mixer
- Cuisinart Stand Mixer
Hand Mixers
- Hamilton Beach 6-Speed Electric Hand Mixer
- KitchenAid 5 Ultra Power Speed Hand Mixer
- KitchenAid 9-Speed Hand Mixer
Mixing bowls
- Umite Chef Mixing Bowls
- Pyrex Essentials (3-Piece) Glass Mixing Bowls
- WhiteRhino Glass Mixing Bowls Glass Bowls
Kitchen Scales
- Etekcity Food Kitchen Scale
- Escali Primo Digital Food Scale Multi-Functional Kitchen Scale
- Nicewell Food Scale, 22lb Digital Kitchen Scale
FAQs About Mixing Cake Batter Without Overmixing
1. Can I fix overmixed cake batter?
Once the batter is overmixed, the gluten has already developed too much, and there’s no going back. The good news is the cake will still bake and taste fine, just a little denser. To avoid this, stop the mixer the moment no flour streaks remain; even a few lumps are okay.
2. Should I mix by hand or with a mixer?
Either way is fine. A stand or hand mixer speeds things along, especially when you’re creaming butter and sugar. Mixing by hand gives you more control and is less likely to overwork the batter. For light cakes, hand mixing can be the safest choice.
3. How long should I mix the cake batter?
Cream the butter and sugar for about 3 to 5 minutes on medium speed. When adding flour, mix for less than a minute. Always stick to the recipe, but trust your instincts; it’s better to stop a minute too early than a minute too late.
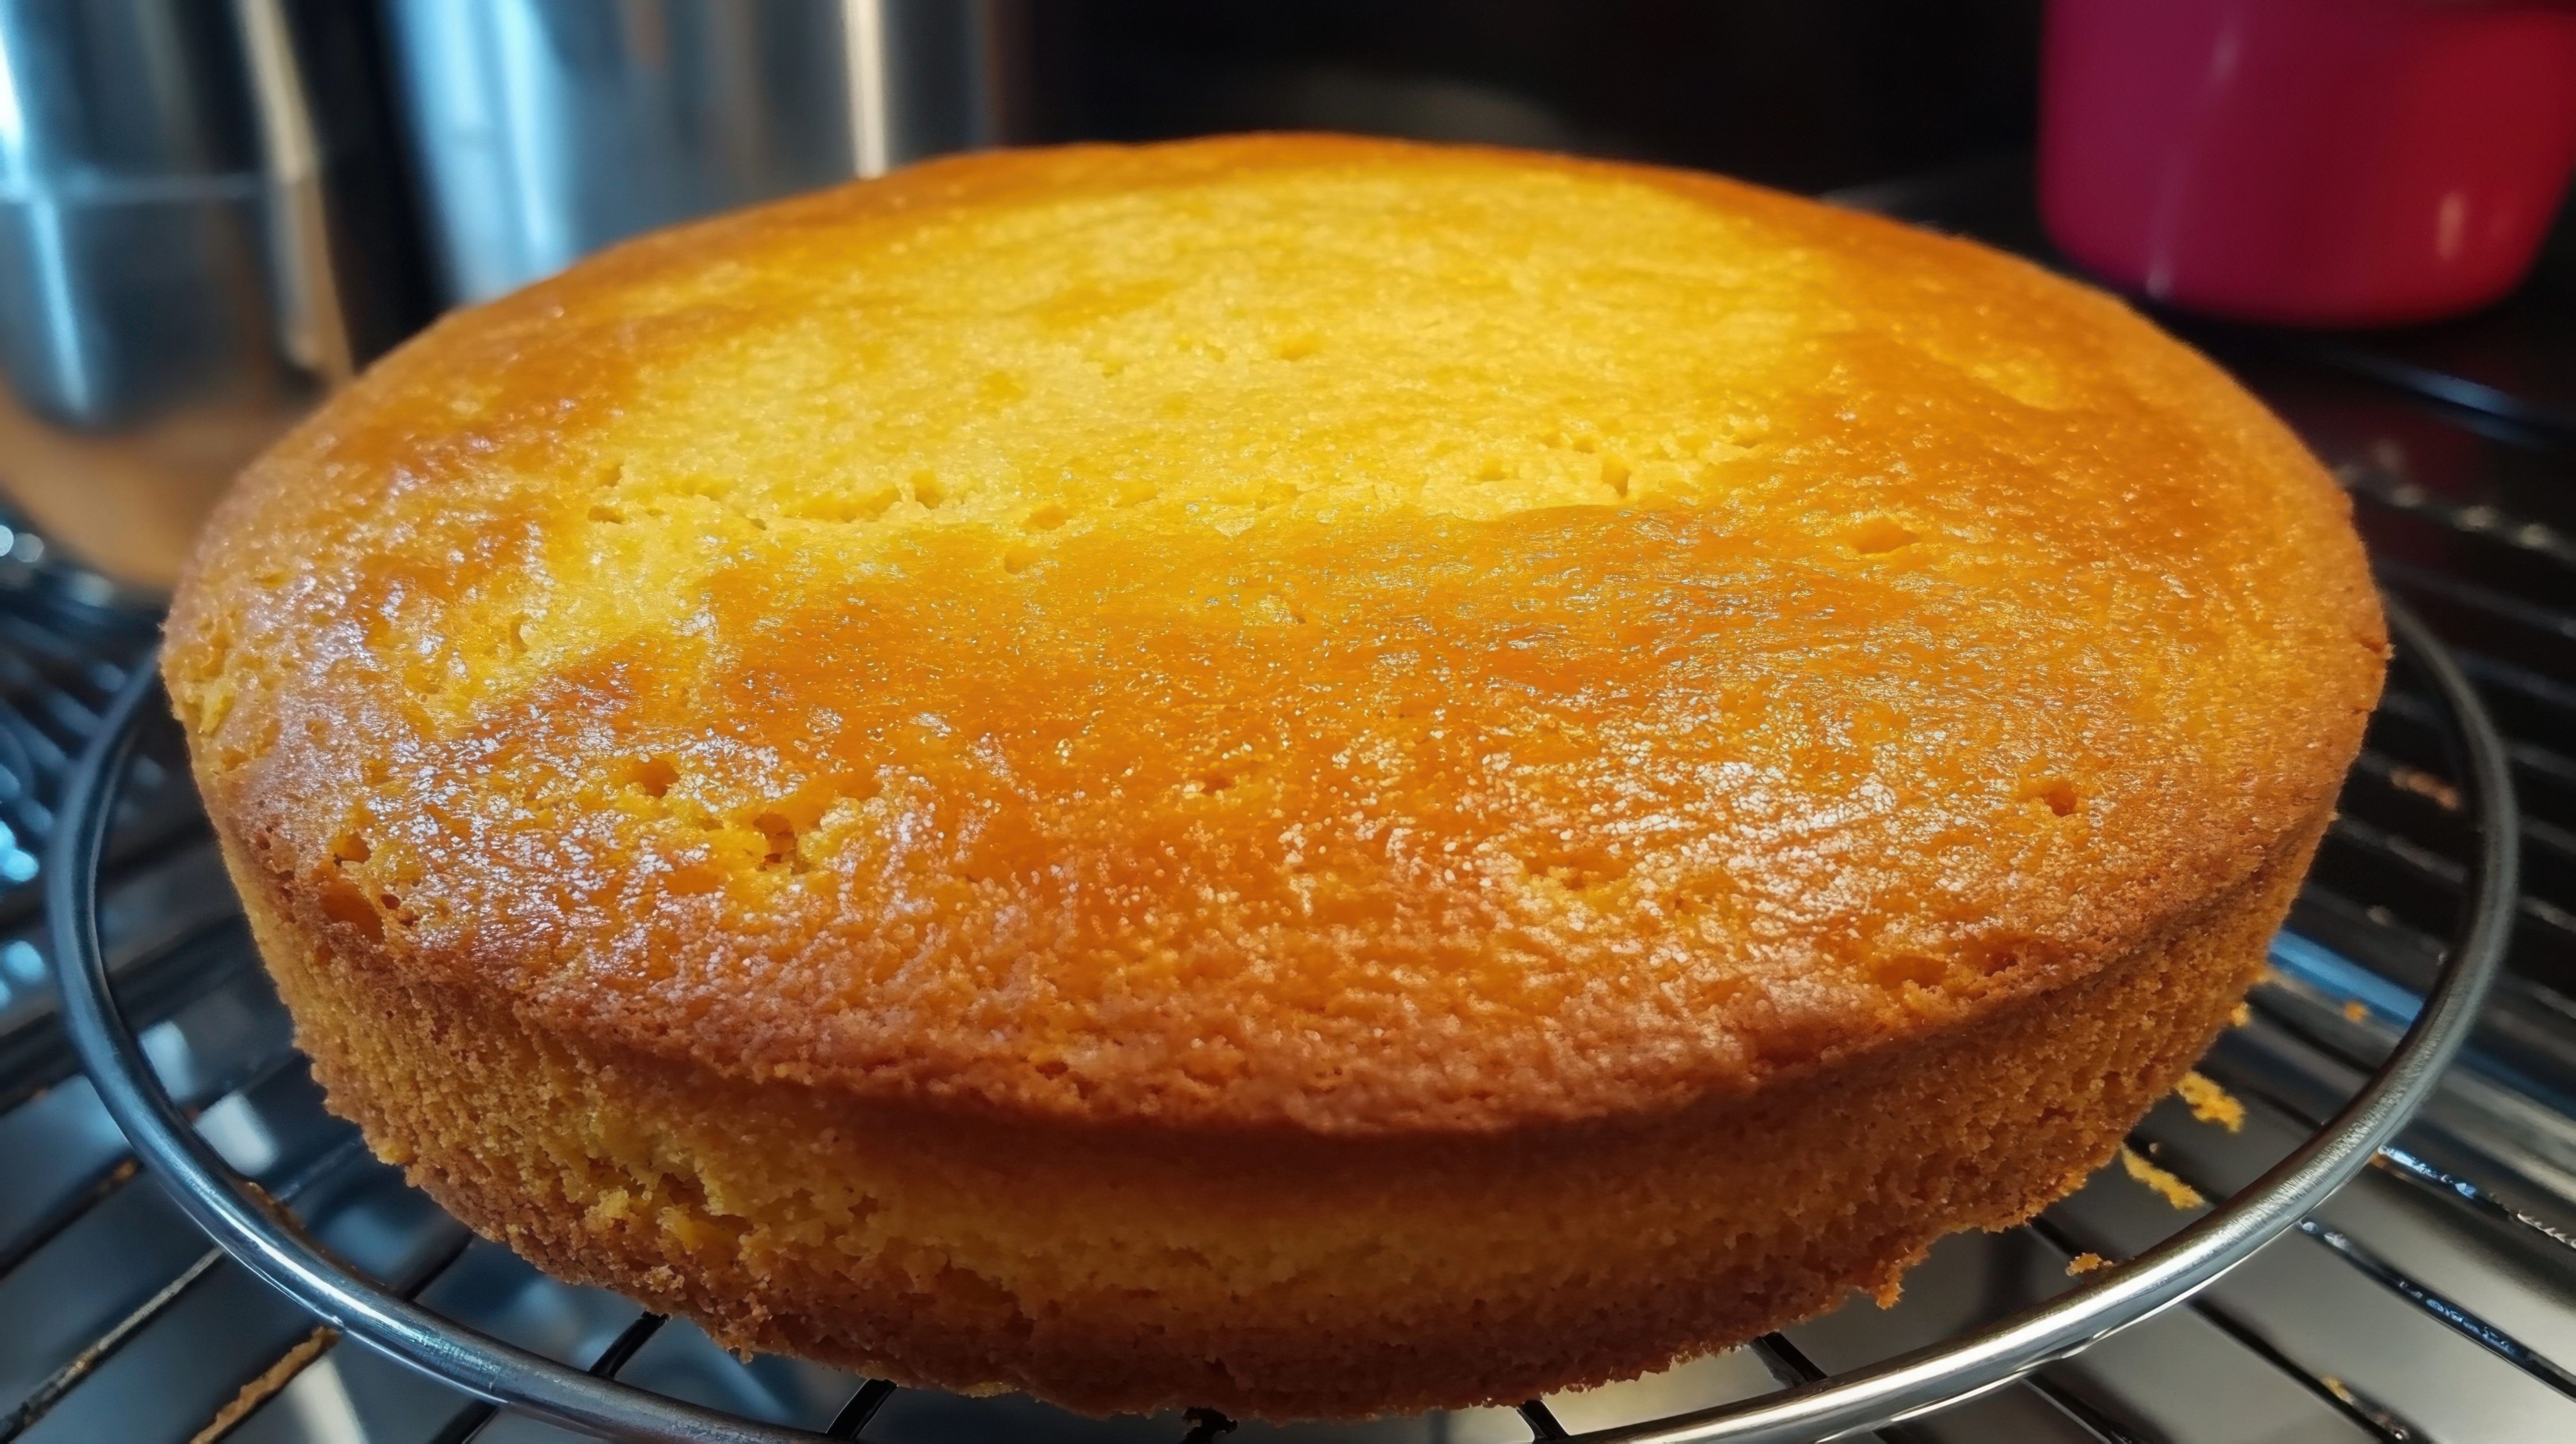
Final Thoughts on Mixing Cake Batter the Right Way
Nobody wants to bite into a dense brick when they were hoping for a light, fluffy cake. The good news? You have total control over this problem, and it boils down to knowing how to mix the batter. It’s not the ingredients that sink a cake, it’s the way they come together. When you find the right balance of incorporated air and managed gluten, things rise beautifully. That means a firm no to overmixing, and no to dumping all the ingredients together at once.