
Aside from precise measuring and methods, knowing how to choose bakeware is key to getting baked goods and cakes to turn out perfectly. Understanding the different materials and shapes is the first step in making your choice, as each option is designed for a specific outcome.
In this guide, we have broken down the most common kinds of baked goods and linked them to top bakeware suggestions. Happy baking! Let’s go!
This post contains affiliate links, which means we may receive a commission at no cost to you. As an Amazon Associate, I earn from qualifying purchases.
How to Choose Bakeware for Cakes: Round, Square & Bundt
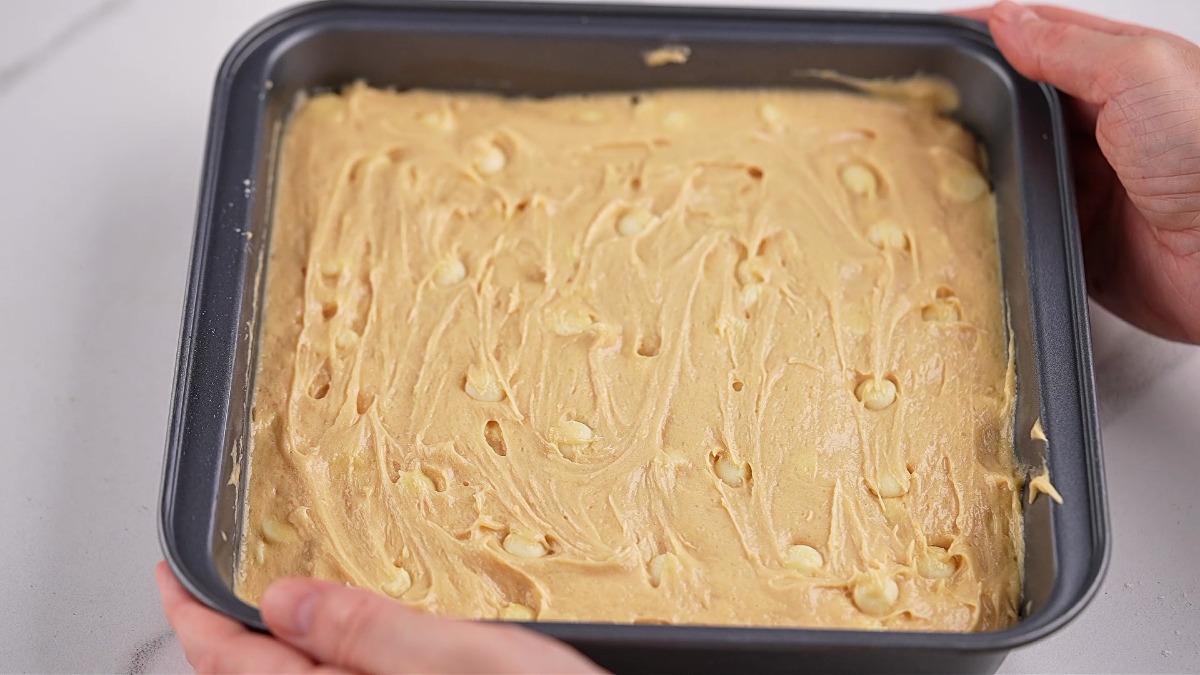
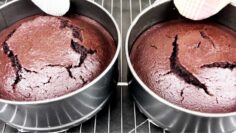
No matter the shape of your cake, you’re after a fluffy, perfectly risen cake that’s also easy to remove from its pan or mold. Here are a few of our favorite cake pans, plus the reasons why we love them:
- Nonstick cake pans: These are ideal for beginner bakers. We love how great they are for easy release. You’ll still need to grease and line them. A set of 3 like these HIWARE 8-inch round cake pans comes with 90 pieces of parchment paper – already cut to size for you. What a win! This is a standard size you’ll use forever. For square pans, check out this set of 2 x 8-inch squares from Hongbake. For bundt cakes, pick up a Hiwave 9.51-inch fluted tube pan.
- Silicone molds: Also great for beginners, and are perfect for delicate cakes. Take note that cakes baked in silicone don’t usually brown as well as those baked in metal tins and pans. Handling wobbly silicone can be tricky because it bends, and the sponge might break; therefore, take care. This set of two 8-inch round pans is all you need to get started. This Walfos 8-inch set of 2 pans is all you’ll need for square cakes – it also doubles as a great option for brownies and breads! Honestly, for a first-time bundt cake, a silicone mold like this one is a lifesaver.
- Glass: Did you know you can bake a bundt cake in a glass? The same applies to square cakes—although this is best suited for cakes that don’t require turning out.
How to Choose Bakeware for Cookies: Sheet Types Explained
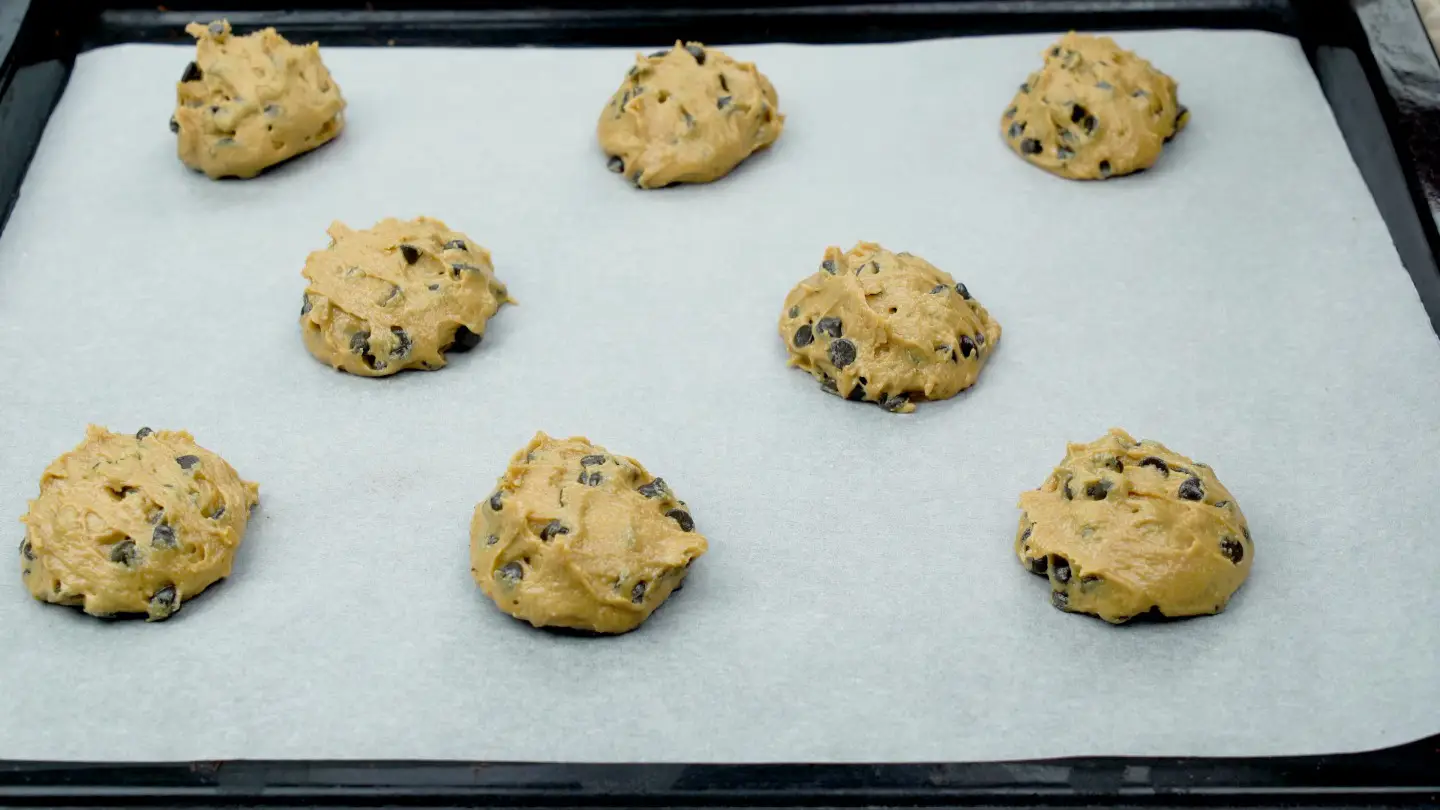
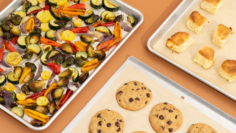
Cookies come in all different shapes, thicknesses, and sizes. Here are the three types of cookie baking sheets we recommend and what to use each sheet for:
- Rimless cookie sheets: When baking cookies, our top choice is a rimless sheet for better airflow. This is what gives those edges a perfectly crisp finish. This 12-inch rimless cookie sheet from Chefmade is a fantastic choice. It’s made with carbon steel and contains zero harmful chemicals. Here’s another great option from Hongbake if you’d prefer a set of two.
- Rimmed baking sheets (half-sheet pans): When baking thicker cookies, such as shortbread cookies, we recommend using rimmed half-sheet pans. This set of 3 nonstick, non-toxic sheets is great for beginners. Plus, they are long-lasting and durable!
- Insulated cookie sheets: We recommend these sheets from Hongbake for soft and evenly baked cookies.
How to Choose Bakeware for Muffins: Pans and Liners
Muffins are one of the easiest baked goods to start with if you’re new to the kitchen. Check out these three options to bake muffins in:
- Classic muffin pan: These muffin tins are made with high-carbon steel. They are nonstick and are available in a range of sizes.
- Ceramic Muffin Pan: If you want to try baking in ceramic, here is the perfect pan to work with from Boxiki Kitchen. We still suggest using liners with ceramic muffin pans.
- Silicone muffin pan: A silicone pan is a great way to start baking muffins. You absolutely do not need muffin liners if baking in silicone. Your muffins will pop out easily.
Baking Bread: Loaf pans and cast-iron Dutch ovens
Nothing beats a Sunday afternoon of cozy bread-baking. There is no need to spend a fortune on a large variety of bread pans and tools. To make basic bread, here’s what to start with:
- Metal loaf pans: These are ideal for classic sandwich bread and quick breads. Perlli has a 9.8-inch meatloaf pan (yup) that we love for newbie bread bakers. The nifty little lifter makes it easy to remove your bread loaf. Boxiki also has a fantastic bread loaf pan with convenient little silicone handles. This one is an 8.5-inch pan. Metal loaf pans heat up really fast, so keep this in mind when baking with them.
- Glass loaf pans: Pyrex offers a variety of different-sized loaf tins – these are perfect for banana bread, as it doesn’t require an outrageously high baking temperature. Note that glass can lead to over-baking.
- Cast-iron Dutch ovens: If you’re getting into bread baking and want to make artisan-style bread with crispy crusts, you NEED a cast-iron Dutch oven. Lodge makes an excellent cast-iron Dutch oven. Currently, it comes in four sizes and is also pre-seasoned. This oven will last you a lifetime if you take good care of it.
Another brand for Dutch ovens we love is Nuovva – they have the prettiest range of colors and work like a charm. Cast iron holds heat really well and helps create a steamy environment for a crunchy crust.
How to Clean and Maintain Your Bakeware
For all bakeware, the first step is to let the item cool completely before washing it. This just prevents any heat shock and breakage.
Use warm, soapy water and a soft sponge or cloth to clean the tools. Soaking them first helps to soften any dough or batter residue.
For stains on metal pans, mix baking soda with water to form a paste. Spread it onto the stain and leave it for 10 minutes. Scrub it gently with a sponge.
For stains on glass pans, use a mixture of vinegar and baking soda. Soak the pan in the mixture, then gently scrub away the stains.
Tips for keeping your bakeware in good shape
Here are our secrets to keeping our bakeware looking and performing like new:
- Never use harsh metal scrubbers or scrubbing pads that can scratch the surface.
- Handwash if you can. Dishwashing is fine, but it can wear down the coating.
- Steer clear of using metal tools to scratch off residue – this will wear down the coating.
- For greasy silicone bakeware, lightly dust it with baking soda for 20 minutes before washing it.
- Only pack away bakeware once it is bone dry. This will help prevent mold from growing.
- For cast-iron bakeware, never soak it in water. To take care of it, clean it with a damp cloth after baking, then season it with warm oil. If you really need to scrub it, use coarse salt and a damp cloth instead of soap.
- Store bakeware smartly: Layer pieces of paper or material between pieces to prevent them from rubbing against each other and scratching. Hang your pieces up if possible.
Wrapping up
We hope this guide to choosing bakeware has set you on the right track. Luckily, there are so many incredible options to choose from when you’re starting out as a baker!